This information is applicable to all of our Solar
Pool Ionizers including our CopperFlo brand
and Pool Biotic brand ionizers
Table of Contents
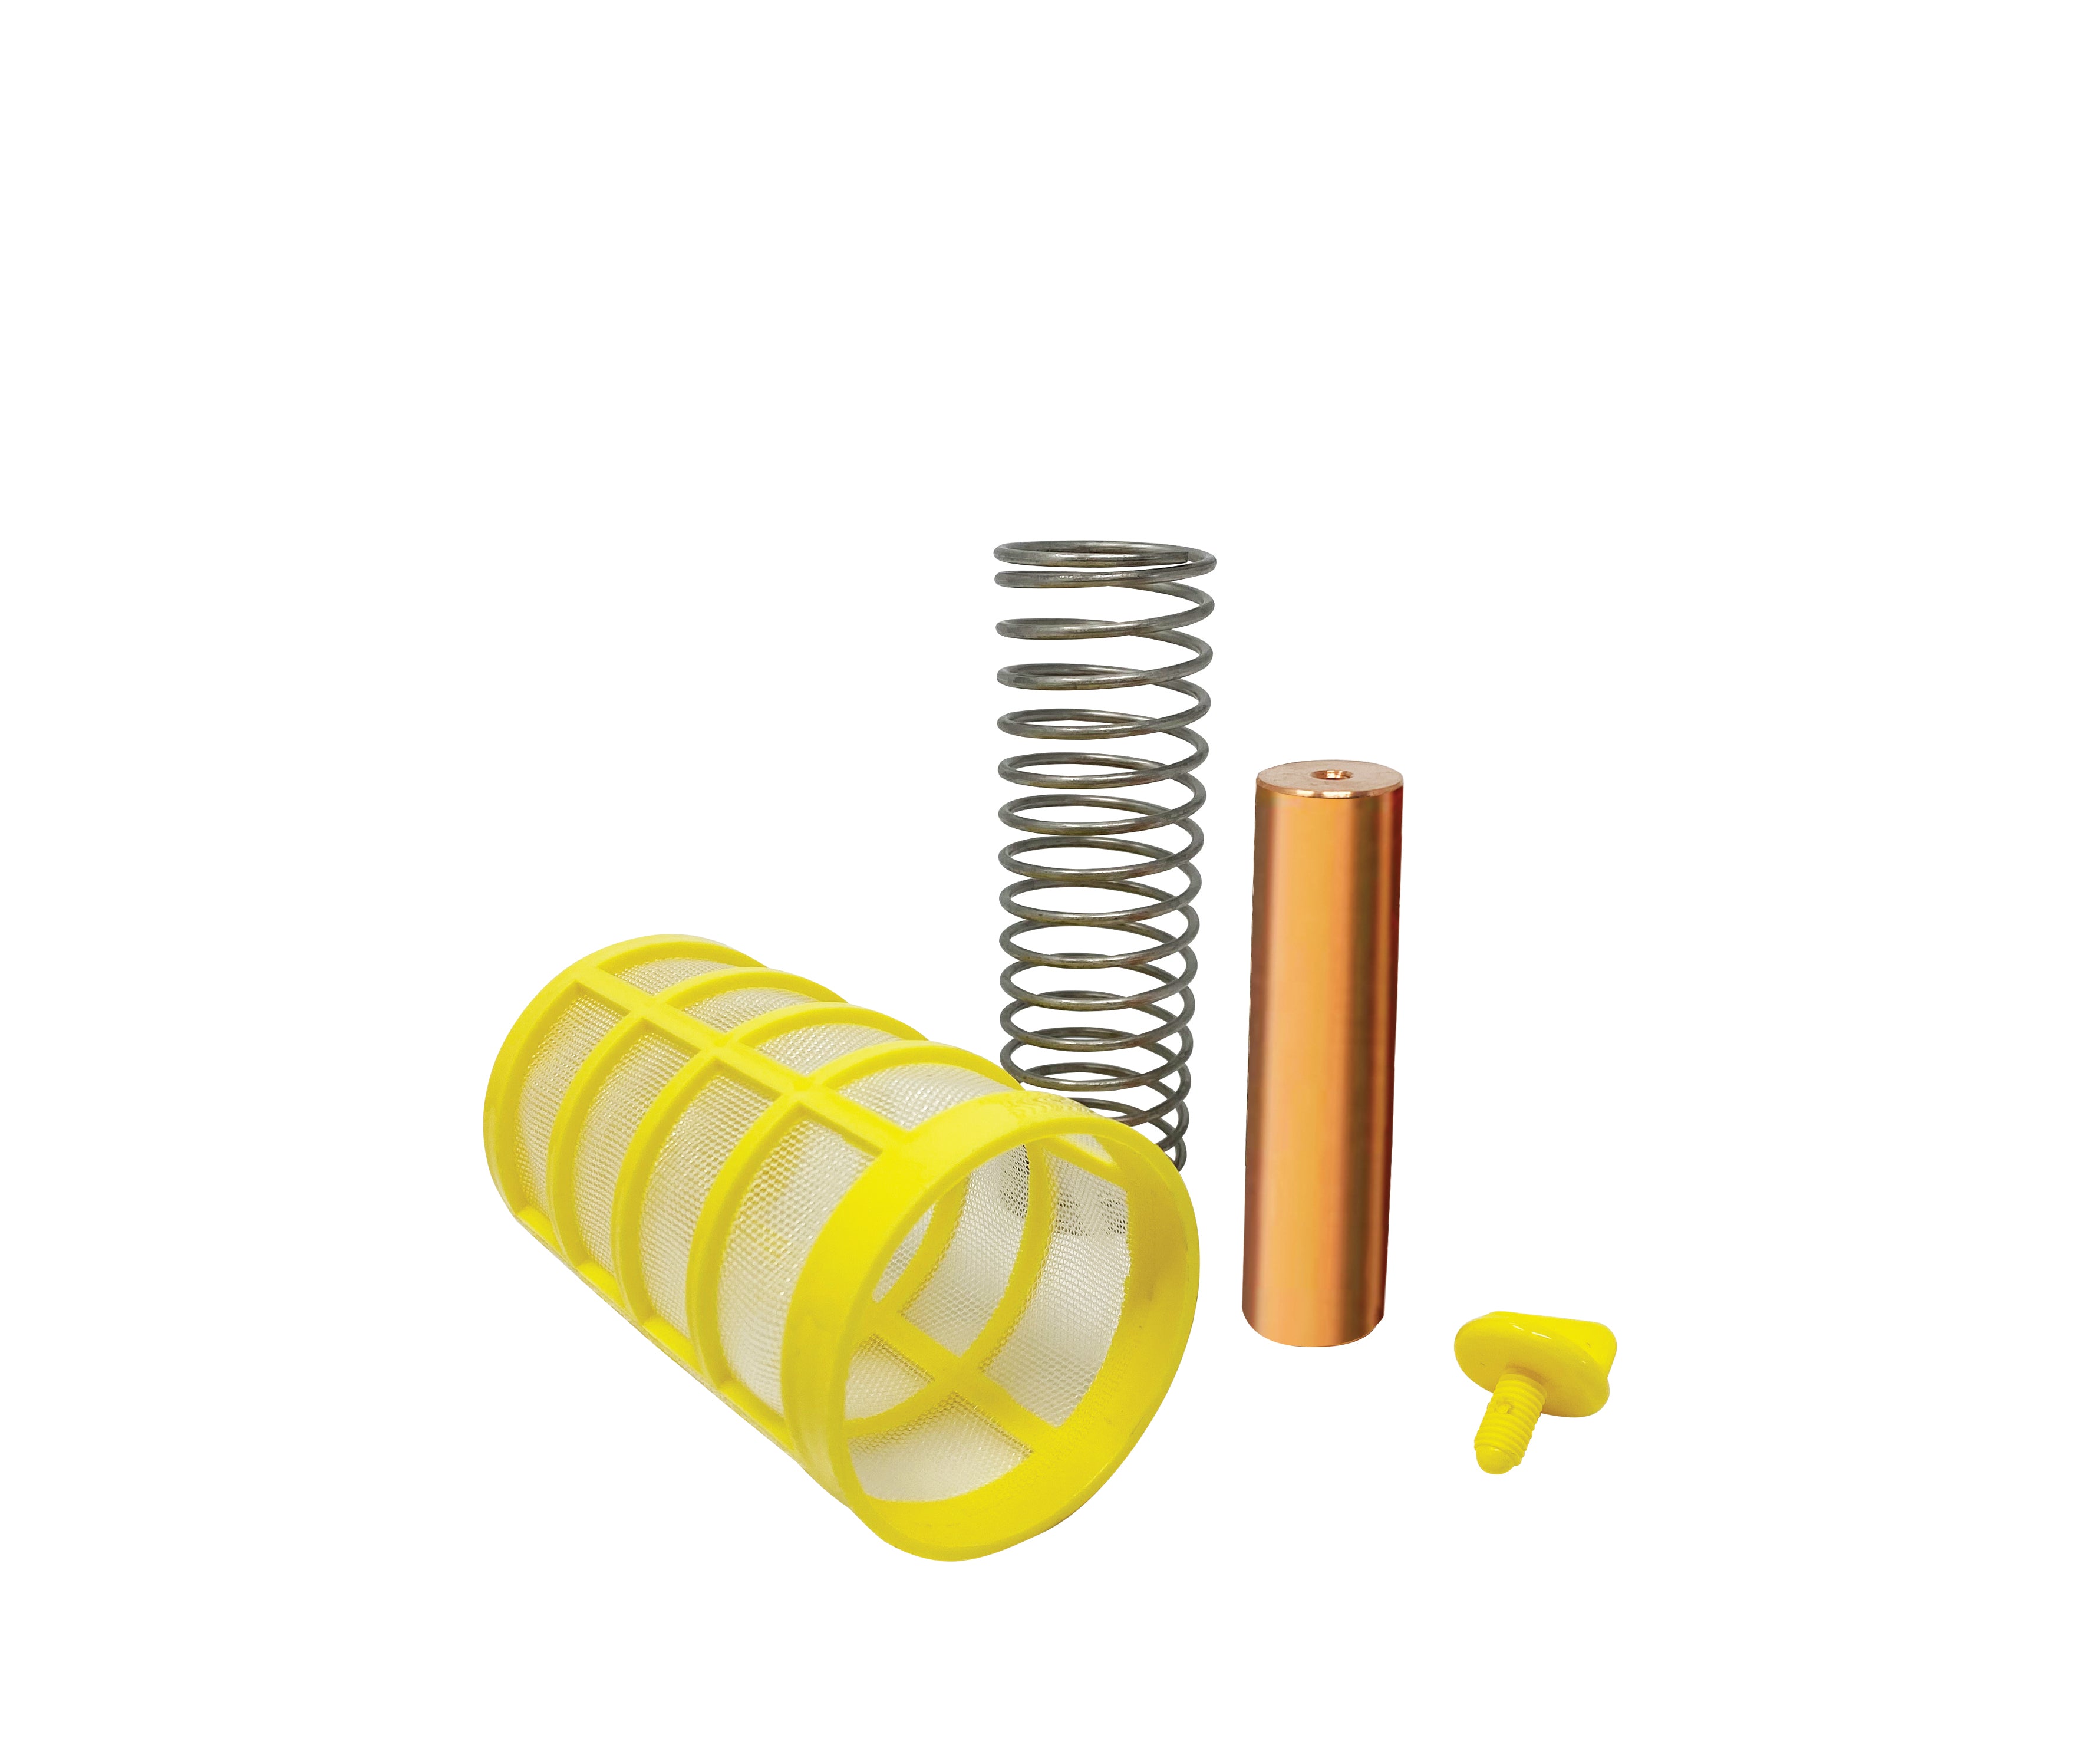
Spring and Basket Cleaner Kit
Message from the Owner
I am dedicated to making sure that every customer is happy. This is the mission of my company and it’s also where I focus most of my effort. Often when a customer experiences an issue with a product, they simply leave a bad review without reaching out for support. If you have any issues, I encourage you to contact us through our request form by clicking on the Customer Service
link at nomoregreen.com. We will respond to you promptly. Your satisfaction is my priority.
Sincerely,
Jeff Johnson, Owner
Package Contents
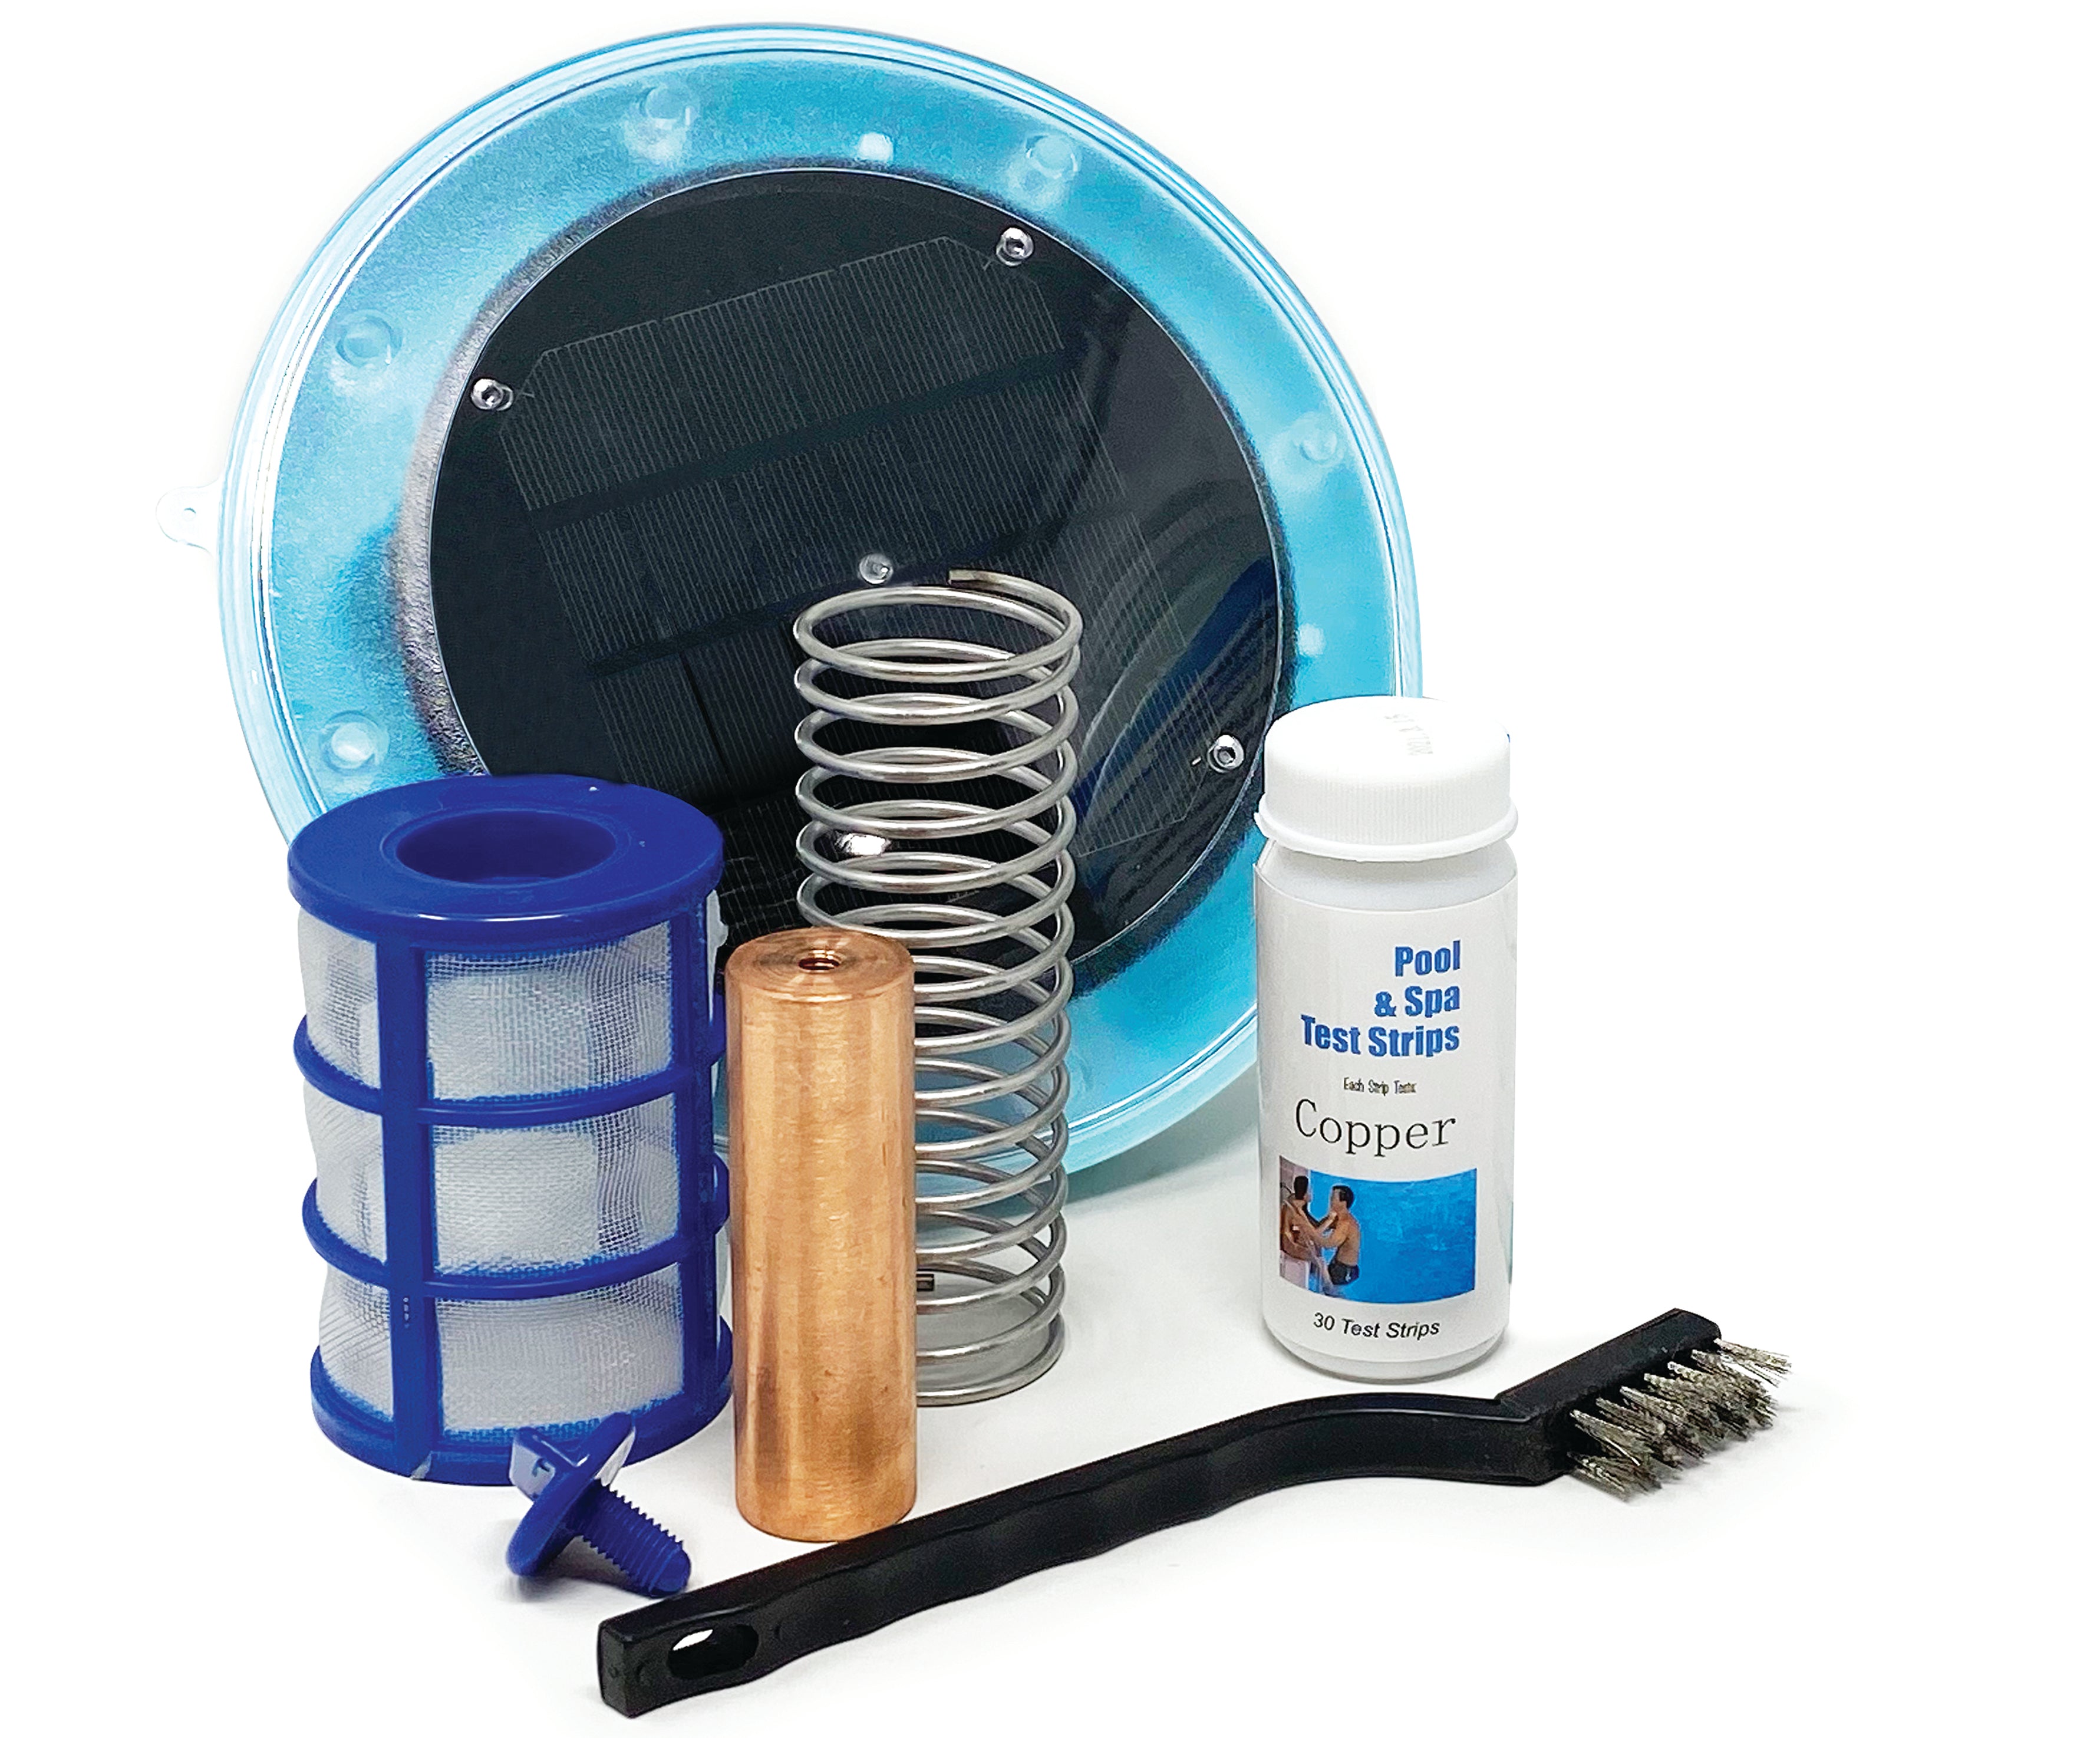
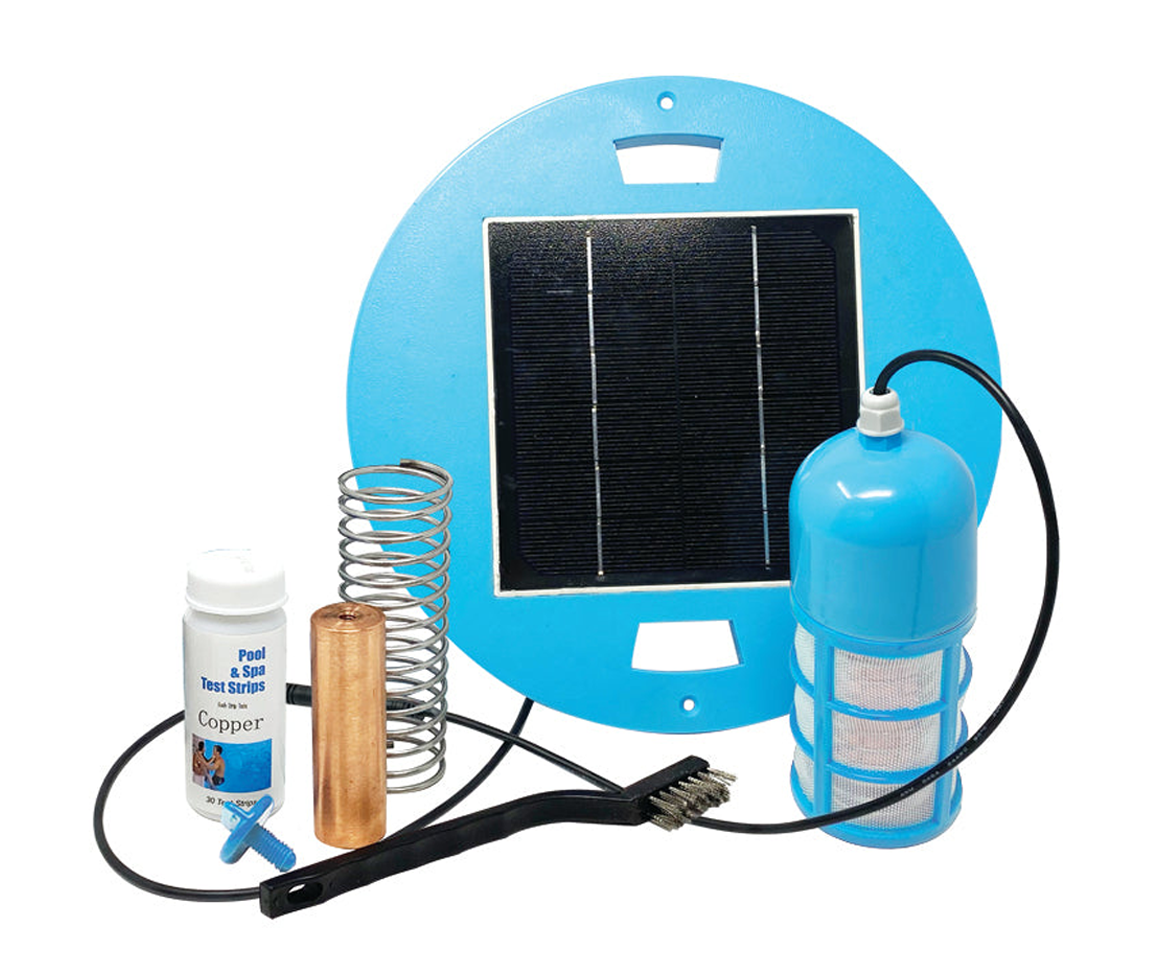
Parts of the Solar Pool Ionizer:

Additional Items (not in photo):
· Wire brush
· Copper test strips for pool and spa
· Buddy Band
Start Up
The Pool Ionizer is already assembled and ready to use in your pool.
There are no batteries. Simply place the ionizer in the pool. All that is required is sunlight! Optional: attach the included Buddy Band evenly around the top of the ionizer. For the Original Solar Pool Ionizer brand Ionizer, the Buddy Band should extend about 1/4 inch above the top of
the ionizer. The CopperFlo brand Ionizer requires the Buddy Band to be more centered. The goal is to have the Buddy Band attached so that it
will not fall off, but also covers the seal.
For the Pool Biotic, simply place the ionizer into the clean-out compartment of your pool. Remember to hold the bottom housing unit when removing the ionizer from your clean-out compartment to prevent heavy tension on the cord.
IMPORTANT: Does your pool currently have algae?
If so, please read and follow the steps below.
The Solar Pool Ionizer produces ionization in the pool water to prevent algae from growing. However, it will take a week of sunny days to get enough ions in the pool to stop the growth of new algae. This product
does NOT REMOVE the existing algae from your pool — no product does. This has to be done by killing the algae and filtering it out of the pool.
This can be done in a couple of days by following these steps:
-
Manual Vacuuming is the Best Vacuuming. Automatic or robotic pool cleaners aren’t well suited to cleaning algae. Manually vacuum directly to waste, bypassing the filter and preventing recirculation of the contaminated water. When vacuuming manually, pay special attention to areas with algae.
-
Brush the Heck Outta That Pool. Scrubbing the algae off the pool walls lets the sanitizer get deeper into the remaining algae. It also stirs up the sediment brushed off, so it can be killed and filtered out. Using a stiff pool brush on a pole, brush the walls and floor of the pool and pay special attention to corners and shady areas where the algae is usually worst. As you go, the water will become cloudy, obstructing the view, so get those tough spots first.
-
Test and Balance the Water. Use test strips or liquid kit to test the alkalinity and pH levels. Balancing the water chemistry now, ensures the sanitizer will be effective against the algae. High pH or low alkalinity will especially inhibit pool shock.
-
Shock Treatment (hopefully your last). More resistant types of algae require more aggressive treatment, so if the infection is heavy, you’ll need more pool shock.
Even if you don’t normally use chlorine shock, for this purpose, it’s best to use calcium hypochlorite shock — and lots of it. Follow the package instructions to determine the dose for your pool size, then multiply that by two, three, or four depending on which type of algae you have:
- Green Algae: Shock x2
- Yellow or Dark Green Algae: Shock x3
- Black Algae: Shock x4
Do not use stabilized chlorine to shock your pool. There will be too much cyanuric acid (which inhibits sanitization) and can lead back to having algae in your pool or other worse problems.
Tip: Put your cleaning equipment in the shallow end while you shock your pool so your tools will also be sanitized.
Important: Shock your pool at dusk or night. If you shock during the day, the sun will eat up most of the chlorine before it has a chance to kill the algae.
-
Filter That Nasty Algae Out. When the shock treatment kills the algae, it’ll turn the water a cloudy blue. Run the filter continuously until the water clears up. You may add clarifier to speed up the process. Be sure to check whether you need to top off the water before turning on the pump.
-
Clean the Filter – Often. The last thing you want is a filter full of particles slowly filling your pool back up with microscopic algae. Deep clean the filter by soaking it in diluted muriatic acid, or simply replace it. If you want to clean out the algae from your pool quickly, clean the filter multiple times the first day that you sanitize the pool.
-
Test the Water Again. Use your usual test methods or run a water sample to your local pool store for analysis. You want to be sure the water chemistry is balanced, and the chlorine level is back to normal before anyone gets back into the water.
Finally…After a couple days, your pool should be looking good and balanced. Your new pool Ionizer should have been in the pool already and be producing enough ions to prevent any new algae growth. After a week, check the copper anode by unscrewing the basket from the bottom of the unit. The copper should be slowly corroding and turned a bluish/green color. This means it is working!
Note: Even if copper levels are low, if the copper is corroding it is working and you should have plenty of ions in the pool to prevent future algae growth. If it has not changed colors, please contact us immediately so we can send you a new unit.
Cleaning the Copper Anode
Over time the copper anode and cathode (spring) will begin to accumulate organic matter and corrosion. The copper anode will slowly lose mass as copper ions dissolve into the water. The anode and cathode should be periodically inspected for surface build-up and cleaned with the included wire brush or use our cleaning kit (details on next page). Below are pictures showing the clean copper surface of the anode and the transformation with accumulated build up and corrosion.

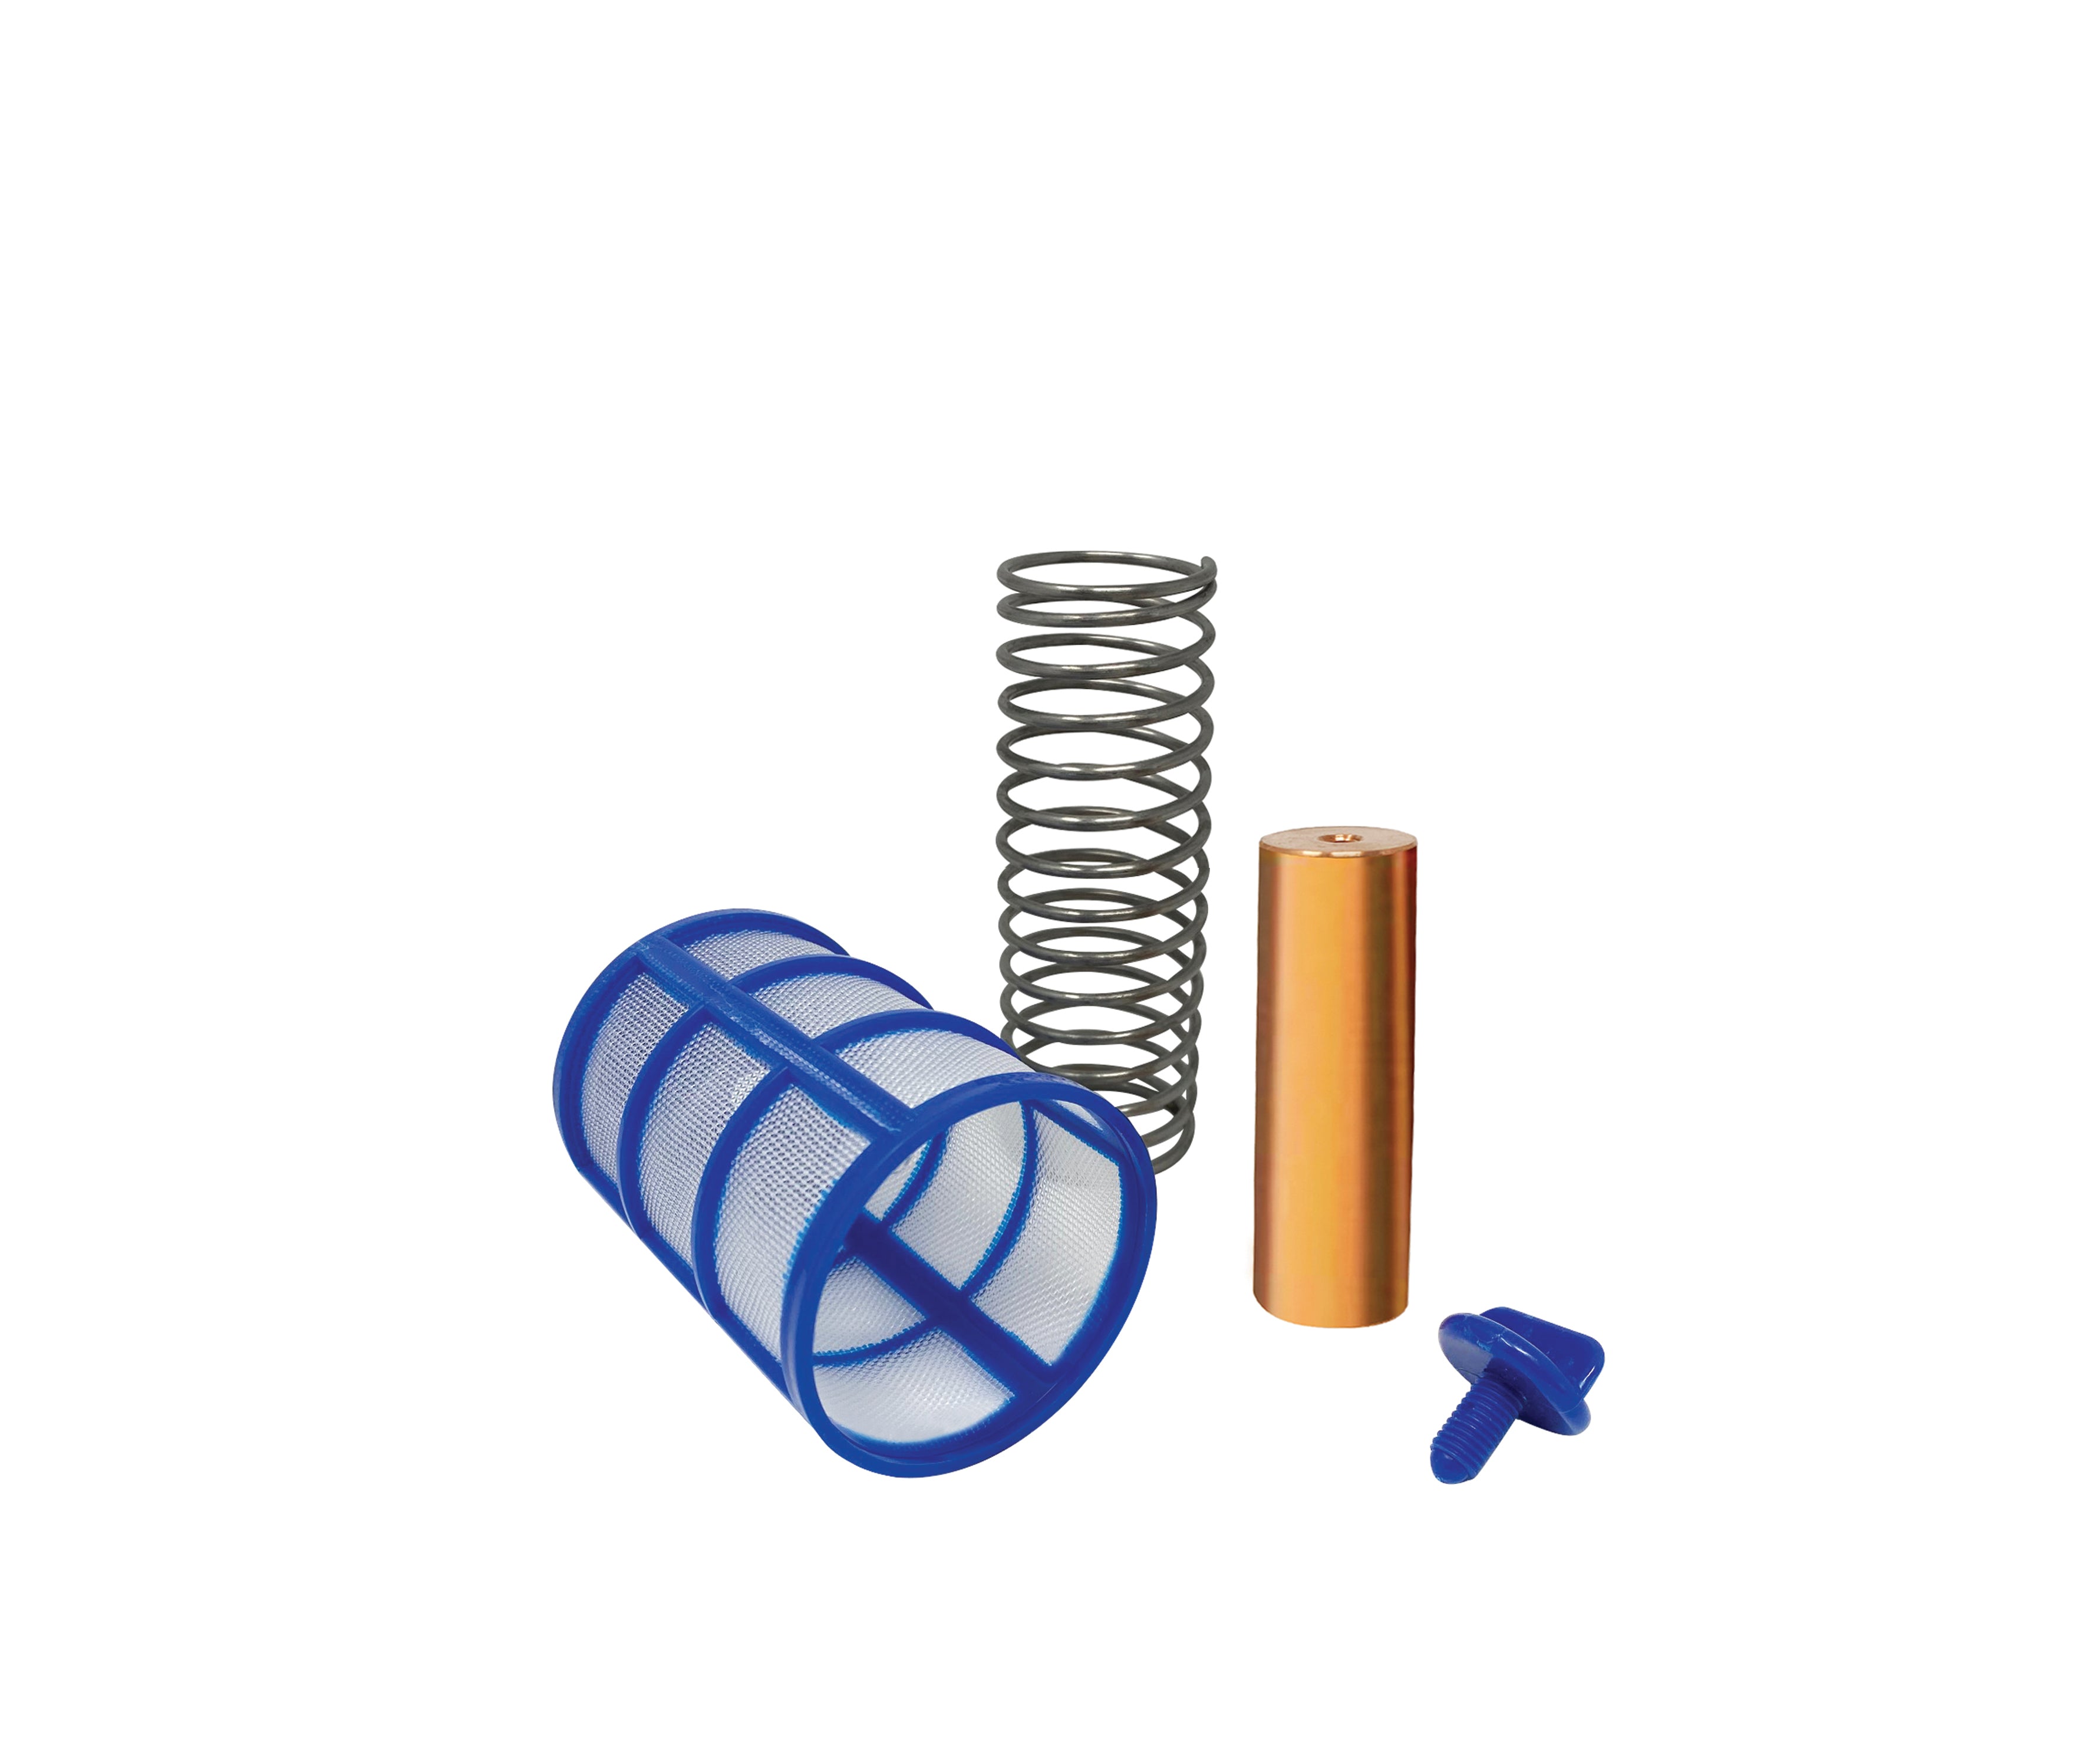
To clean, unscrew the plastic screw and remove the mesh basket and steel cathode. Brush the steel cathode (spring) if it has any build up, paying close attention to the inside as well as the bottom area that makes contact with the 3 metal pins. The copper anode can be cleaned while it is on the solar panel head or unscrewed and cleaned. After cleaning, reassemble the anode, cathode and mesh basket and screw on the plastic screw until it is snug. The ionizer should now work like new.
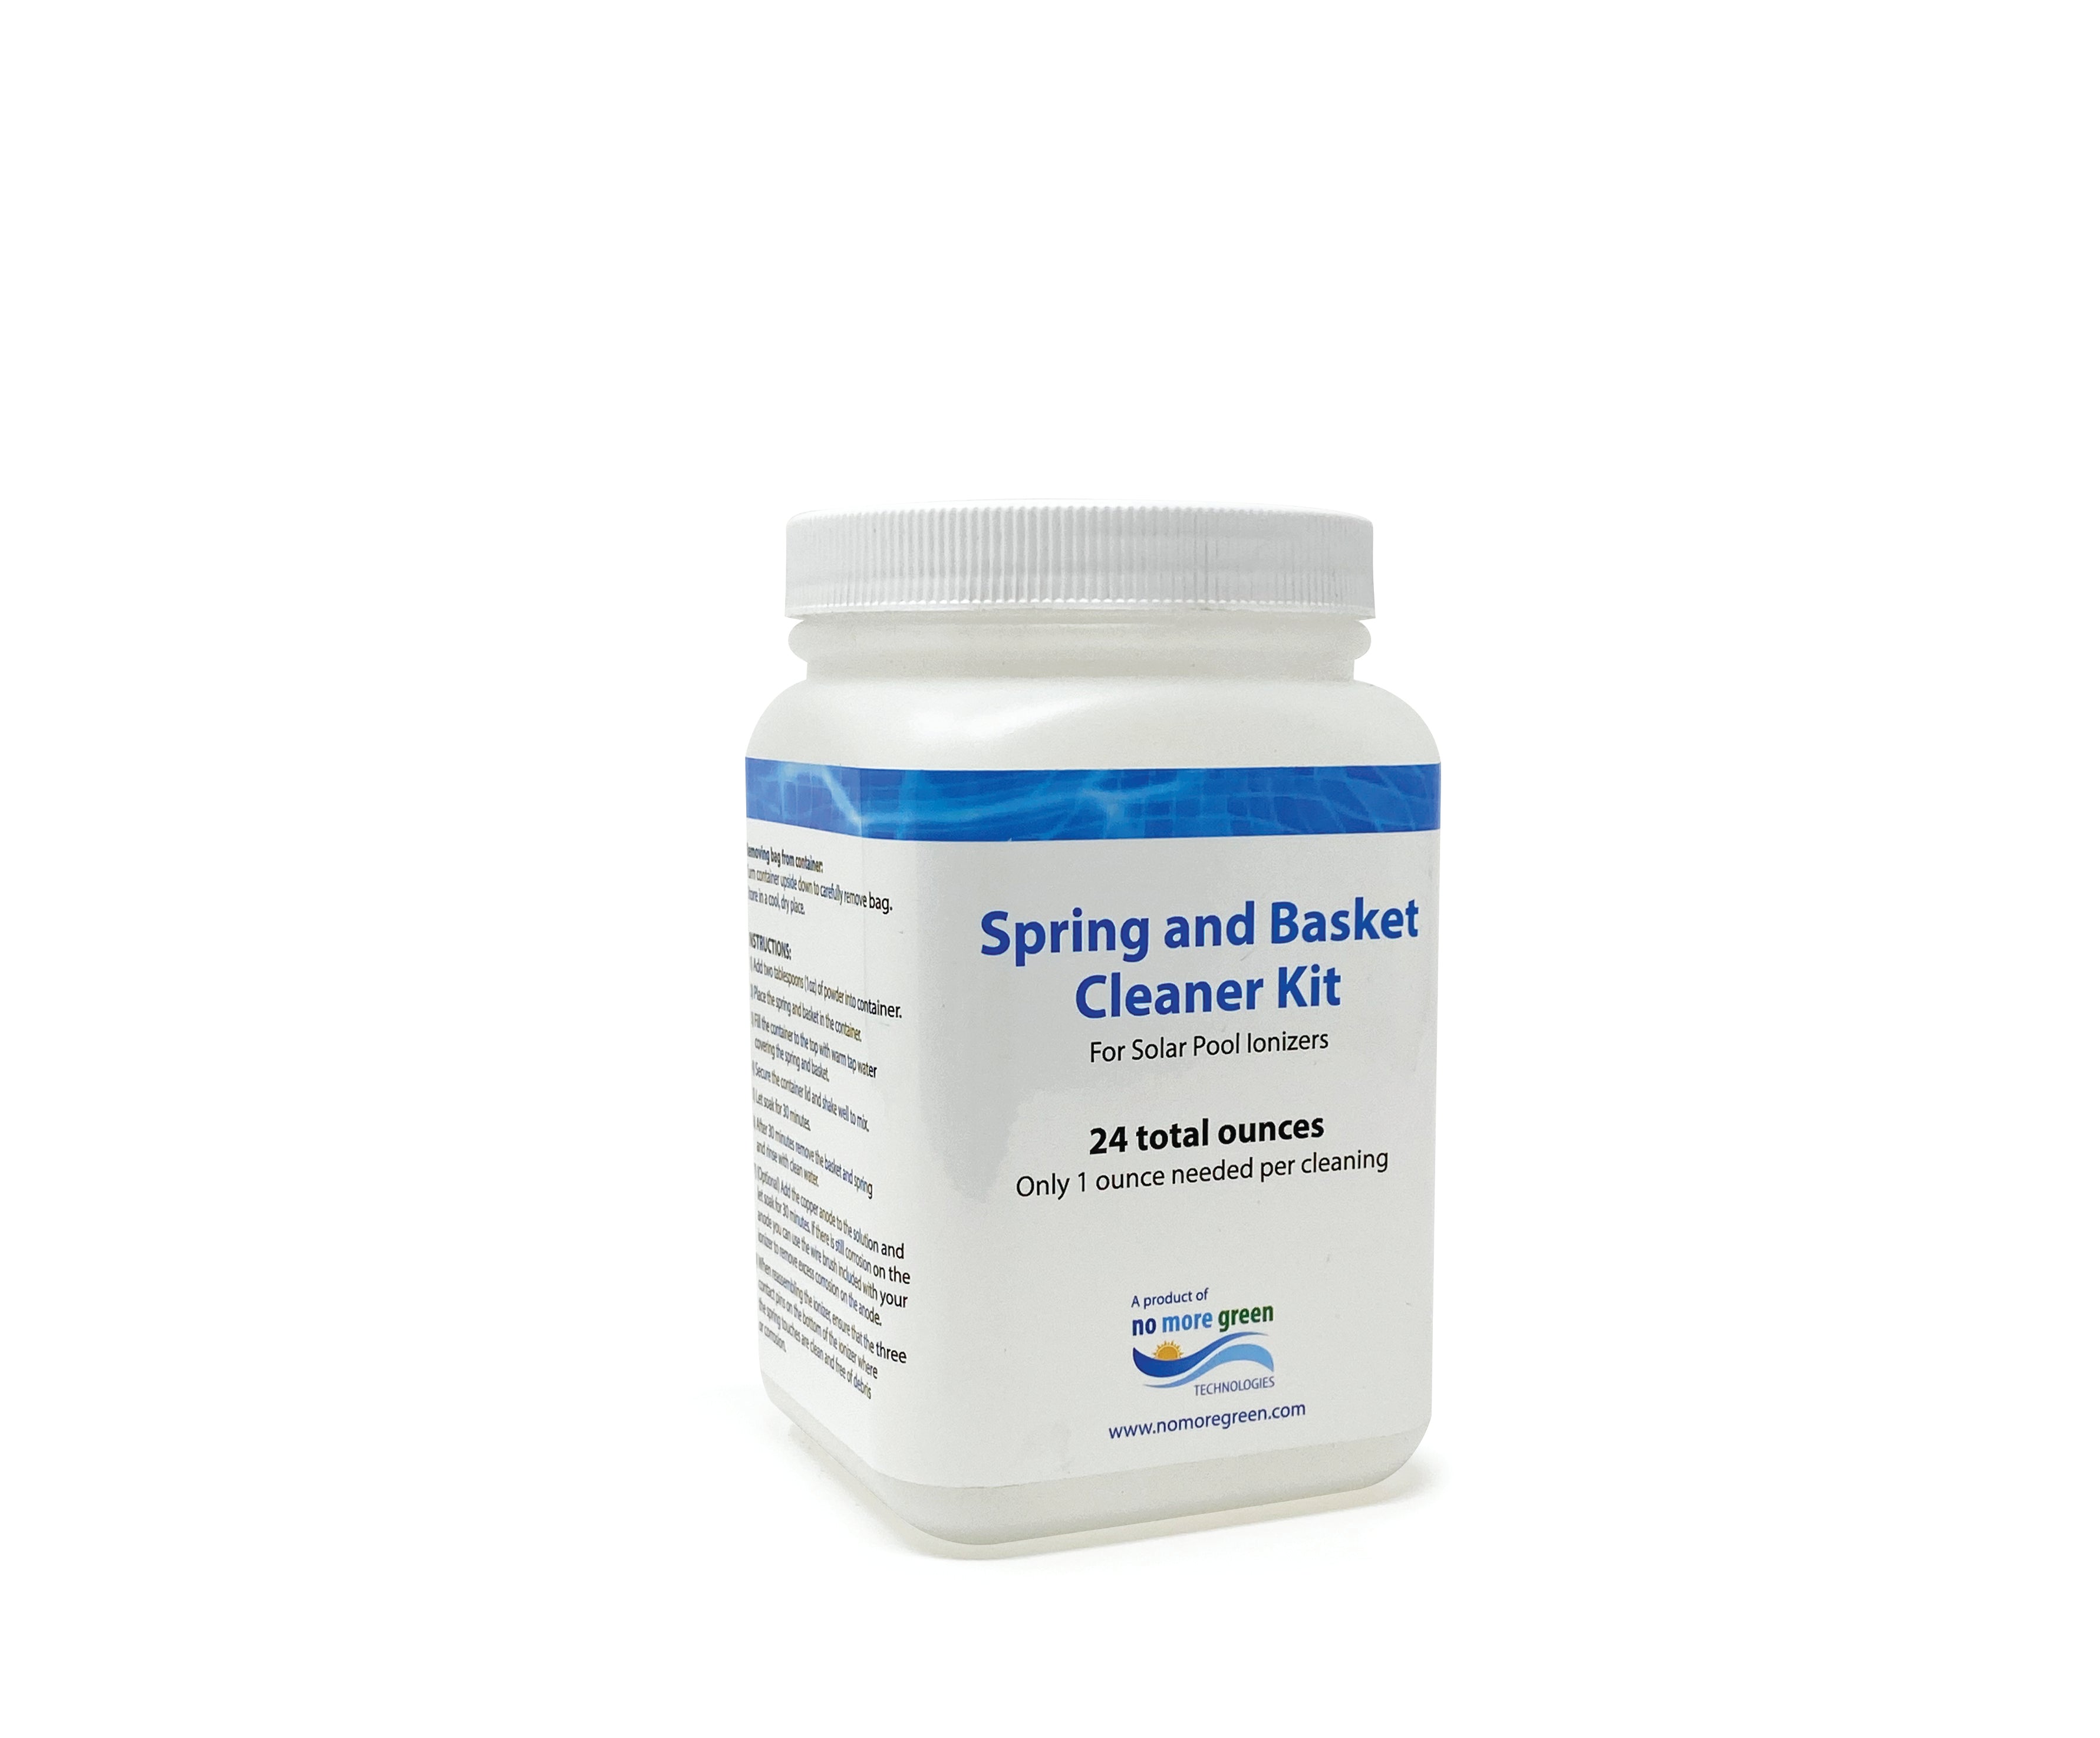
Spring and Basket Cleaner Kit
Prolong the life of your spring, basket and anode with our no mess, fast cleaning Spring and Basket Cleaner Kit. Simply put the spring and basket into the container with two tablespoons (1oz) of cleaner granules and fill the container to the top with warm tap water. After 30 minutes remove the parts and rinse.

Scan QR code to receive a discount on your next Spring and Basket Cleaner KIt.

Copper Anode Replacement
Over time the copper anode starts to reduce in size as copper ions dissolve into your pool. It will typically take 12—24 months for the anode to reduce in size until it needs to be replaced. When the anode is about 0.25 inches in radius, another anode should be ordered and fitted to the ionizer. Each anode has threaded holes at both ends, but the hole diameters are not the same. The smaller hole is fitted to the metal screw at the base of the ionizer unit. The larger hole is used to attach the plastic screw holding on the mesh basket.
New Copper Anode Spring and Basket Kits can be purchased by clicking here.
Note: When you fill out the registration form for your ionizer purchase, you will receive a 50% discount code for your first replacement kit. You will also receive additional discounts on our other products.
Buddy Band
The solar pool ionizer comes with the free Buddy Band which will protect the ionizer and the side of your pool from wear when the wind causes it to hit against the side of your pool. *The Buddy Band does not come with the Pool Biotic solar pool ionizer since it is not a free floating device.
Seasonal Use
During the winter or extended periods when your pool will not be in use, the ionizer can be removed, and the copper levels should be maintained unless water is lost from the system. It is recommended to remove the ionizer during times when temperatures can get below freezing to ensure the components are not damaged by the cold temperatures. Store the ionizer indoors to avoid freezing.
Water Testing
To ensure the copper anode stays within the target range, the included copper test strips should be used approximately once a week to check
the copper level of the water. Instructions for testing the water are on
the test strip bottle.
Note: The test strips are not as effective at testing LOW levels of copper ions as they are at testing for HIGH levels of copper ions. Testing for high levels is what is important. If over 0.5 ppm, you should remove the ionizer for a week or until the levels are lower. It can be difficult to match the color on the test strips to the associated number. A good rule of thumb is, if the color is in the orangish range, you are ok, if it is pink to purple, your ions are high, and you should remove the ionizer for a week or until the levels are back in the orange range. It may be difficult to determine the low-level copper readings, however, if the copper anode is corroding, ions are being created. Low level of 0.1 ppm is usually sufficient to prevent algae growth.
The simplicity of the Solar Pool Ionizer design makes it rare that the device will be defective and not release copper ions. If you think your unit may be faulty, the following test can be performed to check if the ionizer is properly releasing copper ions.
Place the ionizer in a bucket or large glass filled with water so the entire copper anode and basket are submerged in the water. See the image below.
For the Pool Biotic ionizer, you can follow this same process. Simply put the copper housing unit into the glass and ensure the solar panel top is sitting upright in the sunlight.

Set in direct sunlight for about 15 minutes. Remove the ionizer and test
the water. Given the small volume of water, the ionizer should be able
to increase the copper levels to a quantifiable concentration quite fast.
If the copper content is at trace levels, there might be an issue with the unit. Please contact us at info@nomoregreen.comfor a replacement.
Tips and FAQ's
Tips
- If parts of your pool are shaded, try tethering the ionizer to an exposed area of the pool. To tether the ionizer, you can tie a line, such as fishing line, around the top of the basket and then attach the line to a stationary object in your pool. You can also attach a weight to the end of the line and have the weight sit on the bottom of the pool. Use a plastic weight versus a metal weight to prevent possible corrosion and staining on the bottom of the pool.
- If exposure to the sun is weak or it is consistently cloudy, consider lowering the pH slightly to increase the rate of natural copper dissolution.
- Do not allow copper content of the water to go significantly above target range upper limit of 0.5 ppm. High copper levels can tinge the water green and copper can begin to precipitate on solid surfaces.
Frequently Asked Questions
Will this corrode the metal parts of my pool pump and filter system?
No. Copper is a natural anti-microbial chemical and is far less oxidizing
than chlorine or bleach. At high copper levels, the copper can begin
to precipitate on solid surfaces, but this can be avoided by periodically checking the copper content of the water and taking the ionizer out if copper levels are too high.
How many hours of daily sun exposure are required?
The sun exposure will depend on the pool size and solar intensity.
Typically 1—4 weeks are required to get the copper levels to the target range.

